Building Electron based applications using CIs
One of the new cool kids on the block of webdev is Electron. With it we can build native apps using what we are best at: websites.
Electron simply wrappes websites to create native applications for Windows, Linux and Mac. Sounds wonderful, right?
Ohh yes and it is a lot of fun building something with Electron. Until one fine day you think you are done and want to "publish" your work. Well here it gets really rough. At least it got for me, so let me tell you my story and get you started.
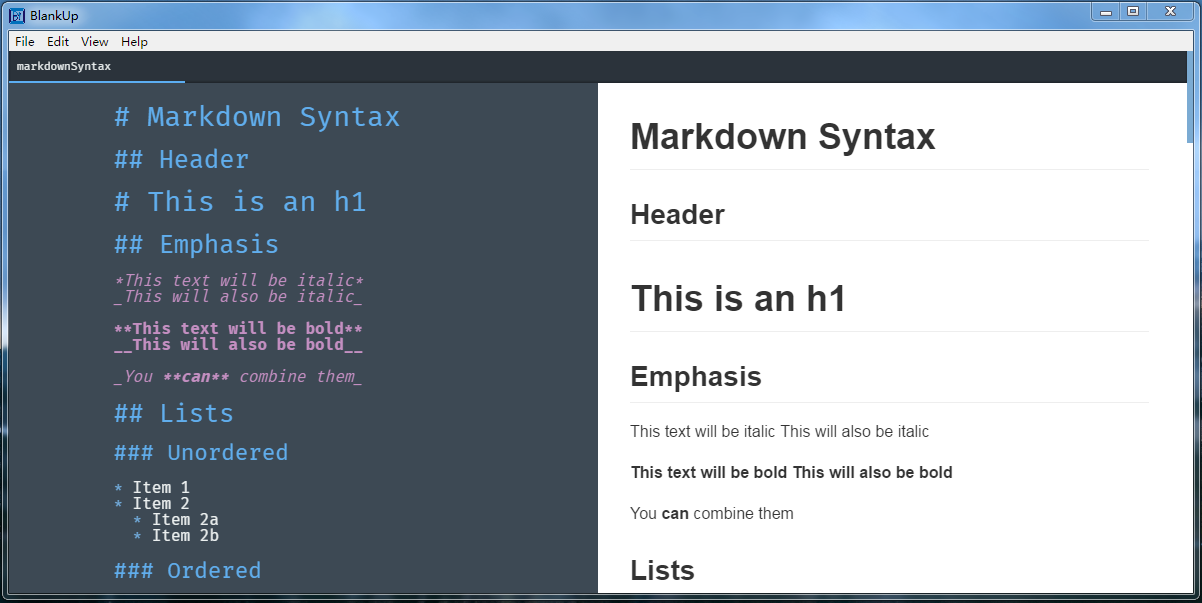
BlankUp is the application I was working on and quite honestly I didn't think about building it for release at all. Developing it was actually pretty awesome and straight forward. The docs are awesome and the API demo app is a great help and really I could just build a website that had it's very own browser window.
So my app was really and good to go, but how? well a few hours of googleing and reading later electron-builder seemed the most promising to me. And it is what I ended up using. It even has a wiki entry about multi platform build. Just what I need.
That wiki entry suggests to use AppVeyor for Windoes and Travis for Linux and Mac builds. Setting up accounts there and adding configuration files to your repo is actually easy enough after having done it once. The part I really struggled with where the tokens to authorize the CI (continious integration) tools to push thing to GitHub.
The goal is to have the CI tools push the compiled application to a release on GitHub.
Step by step
Lets walk through this step by step for both platforms.
First we should do some set up for electron-builder which uses a two package.json structure. Go ahead and set that up for your repo. What you need is a package.json file in the root of your project describing your development dependencies and one in your app folder describing the dependencies for your application.
This is used to build dependencies for your application for each system. We want to build the dependencies for your application for the system it will be run on while we want to build the development dependencies for the system we create the build on.
Did we mention the app folder? Because electron and the builder expect your application to be in that folder. And no two ways about it.
Before we continue go to https://github.com/settings/tokens and "create a new token", give it the access rights for public_repo. Make sure to save this somewhere as you only get to see it once!
Travis
- Register with Travis
- Visit your account page and activate your repository
- Go into the the setting for your repo on Travis. Add an environment variable called
GH_TOKENwith your token as the Value and make sure to disable the display in build logs ! - Now add a travis config file. You can copy my config file.
- Make a push to your repo and see the magic happen.
I actually really struggled with two things here. First adding the token. I mostly found guides to encrypt it, until I noticed this pull request having a comment about adding it in the Travis interface. The second thing I struggled with was a line of code installing graphicsmagick which is a bit confusingly explained in the docs if you only glance over it.
This will give you the files for your Linux and Mac users.
AppVeyor
Pretty similar.
- Register
- Activate your repo under /projects, click
new project. - Under Settings -> Environnment of your project add a
GH_TOKENwith your GitHub token and press the little lock to activate encryption. - Add a config file, you can once again copy my config file.
- Make a push and see the magic happen.
All good
With this set up you should see a new release on your GitHub repo that is in draft stage and has the name of your current version in your npm package. Simply add a description and you are good to release.
Head over to the first release of BlankUp to get feel for how this will look.
next
Now you might want to adopt this to your workflow some more. Maybe only make the tools compile your app when you push a tagged commit or only run for commits to a release branch. Whatever workflow you are using.